First, I’ll walk through setting up your RCA email address.
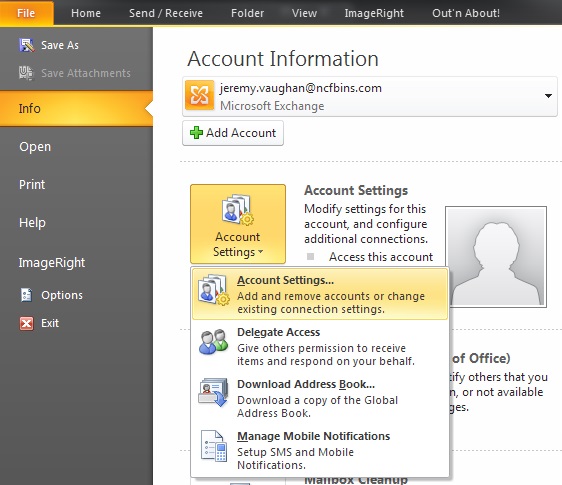
Step 1: Go to File / Account Settings.
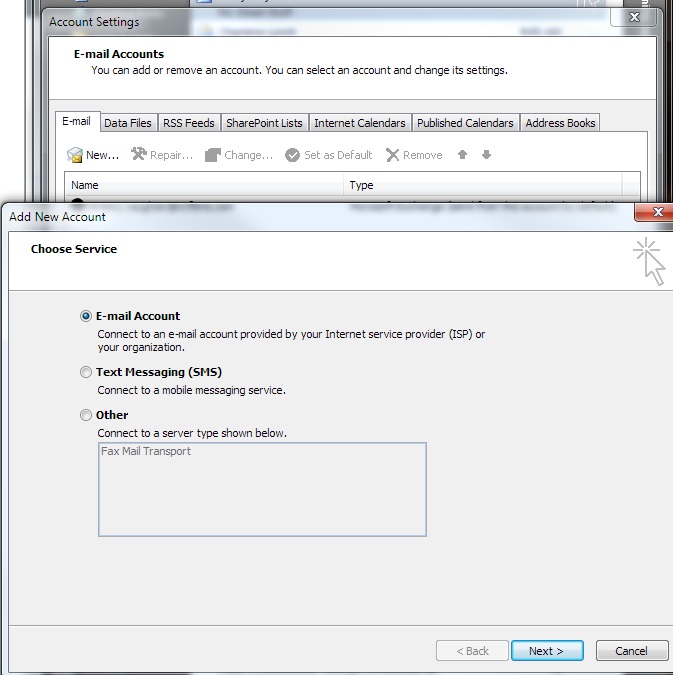
Step 2: New EMail Account
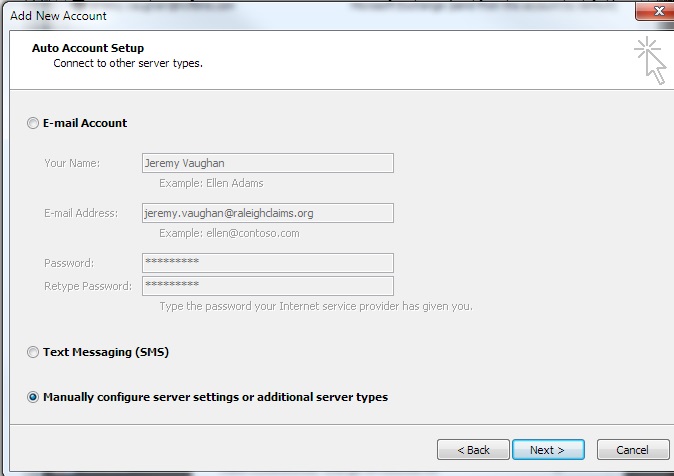
Step 3: Manually Configure Server Settings
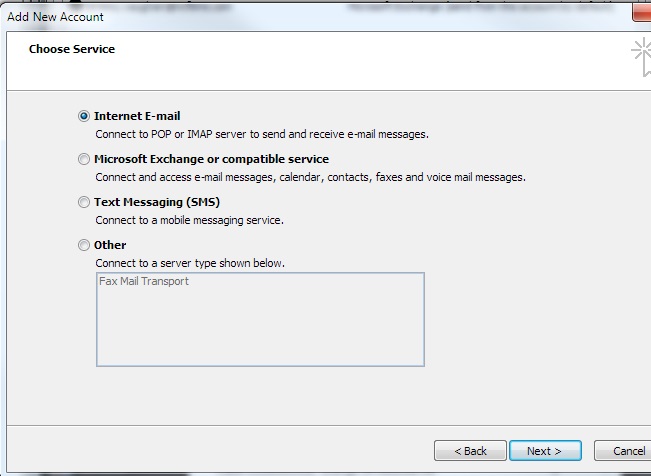
Step 4: Internet Email
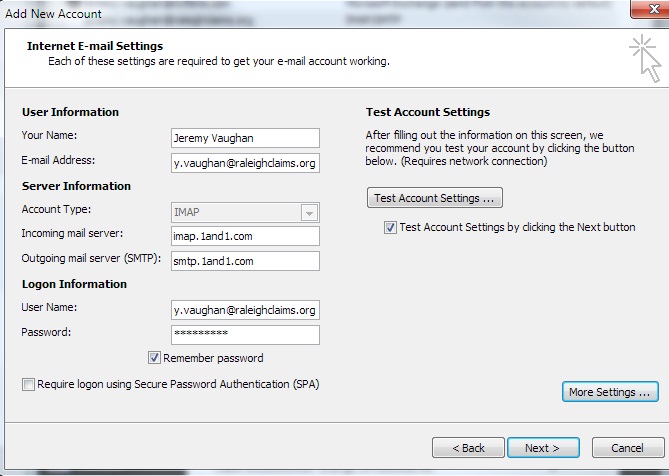
Step 5: Enter the server info as outlined.
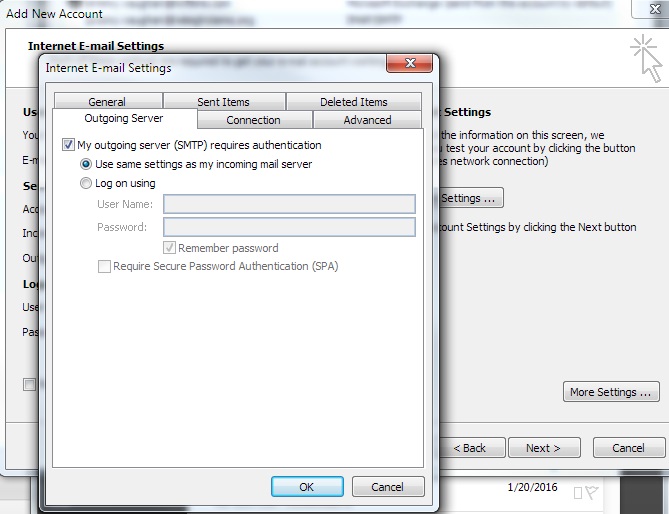
Step 6: Click More Settings, then go to the Outgoing Mail Tab and select that the Outgoing Server requires authentication. Nothing else in the More Settings section needs to be touched!
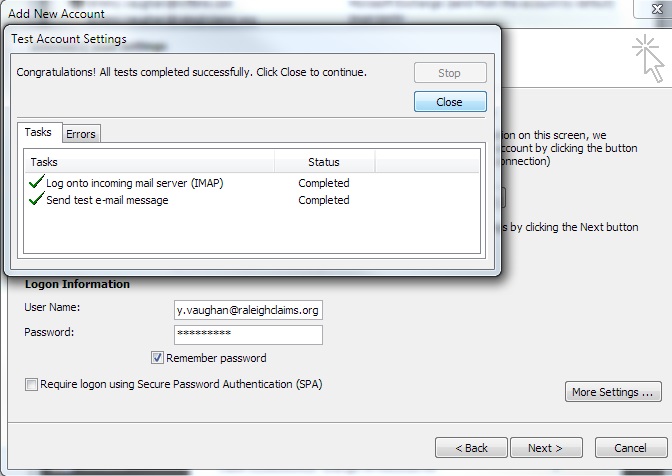
Step 7: Hit “Ok” to leave the More Settings box, then “Next” and it will test your settings, hopefully showing success for outgoing and incoming mail.
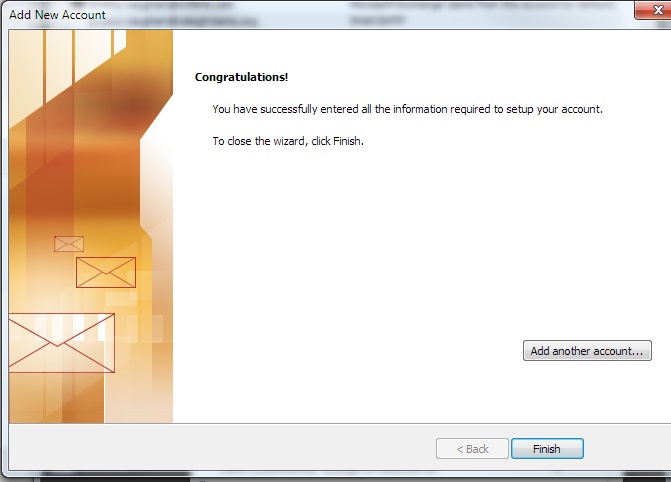
Step 8: Click Finish, followed by closing the mail boxes settings box.
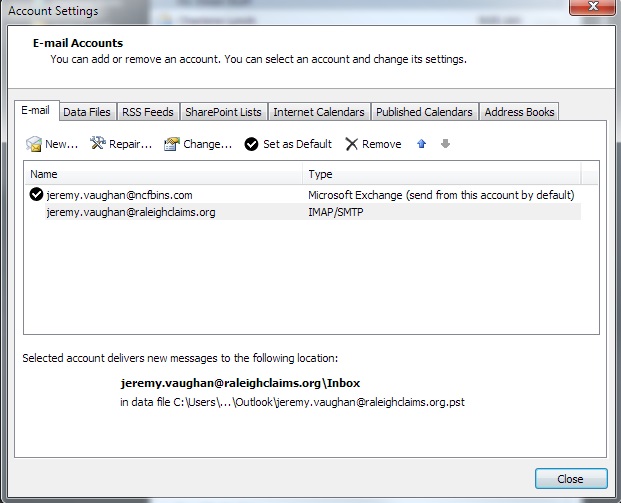
Step 10: Your new email should be in Outlook below your current, default email address.
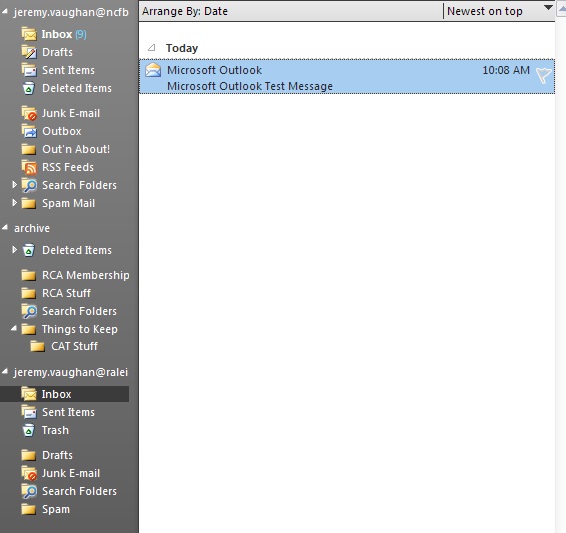
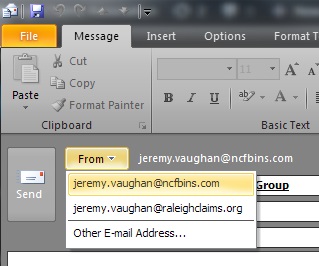
Now you have your RCA email in outlook! When sending email, make sure to select your RCA email address as the “From” email, as it will not be default.
Enjoy!
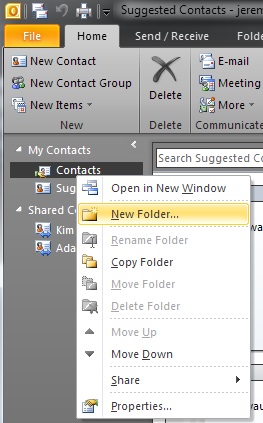
Now you’ll want to get some RCA contacts. In outlook click your Contacts.
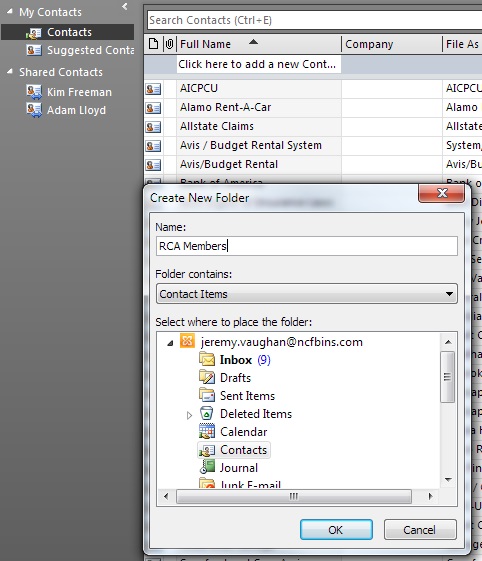
Step 1: Make an RCA Contacts folder by right-clicking on “Contacts” and select “New Folder…”
Step 2: Name the folder.
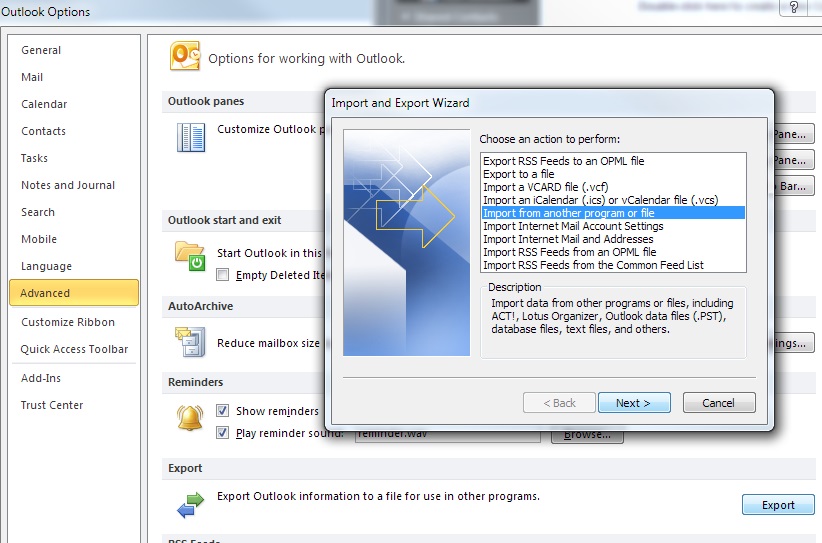
Step 3: Now that you have the folder, we want to import the contact list into the folder you created. Go to File / Options / Advanced and click (counter-intuitively) “Export”, which will bring up the Import & Export Wizard. Select Import from another program or file and click Next.
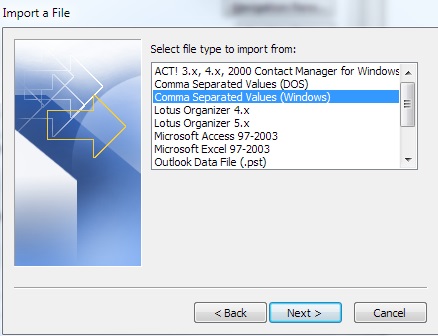
Step 4: Select Comma Separated Value (Windows) and click Next.
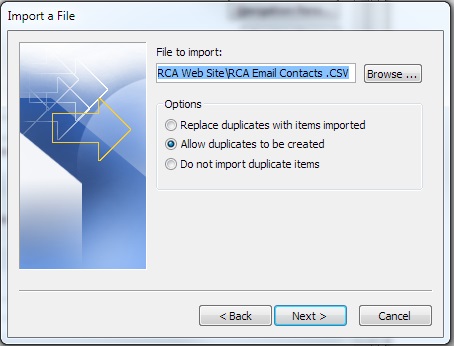
Step 5: Browse to the RCA contacts file where you saved it and select it, then click Next.
Step 6: Make sure your new folder for RCA contacts is selected.
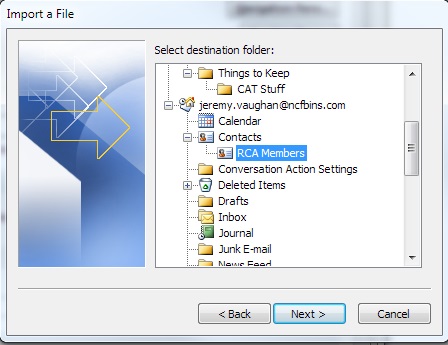
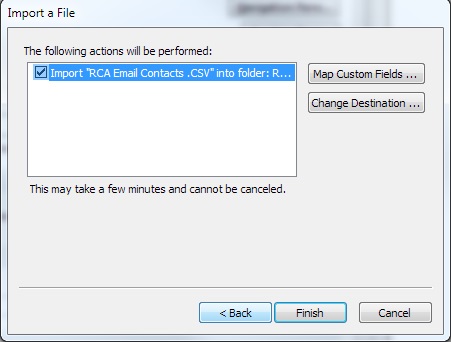
Step 7: Click Finish.
Your contacts will now be in your new RCA folder!
Now we can make a contacts group.
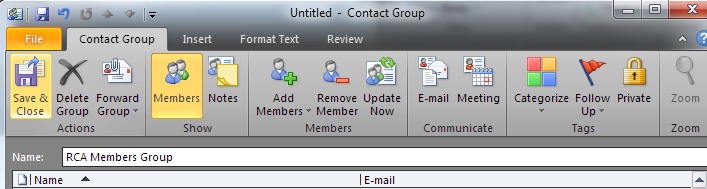
Step 1: While in your outlook contacts, in the upper left, click “New Contact Group”. Once the new group dialog is up, you want to click Add Members, and From Outlook Contacts. 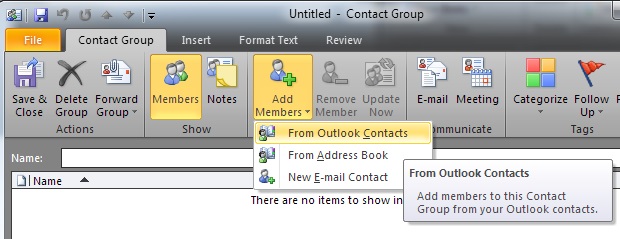
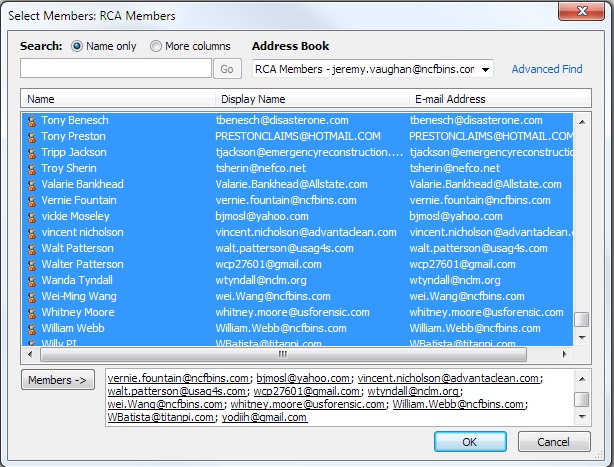
Step 2: Select which address book you want to use; in this case I am making a full RCA Members list.
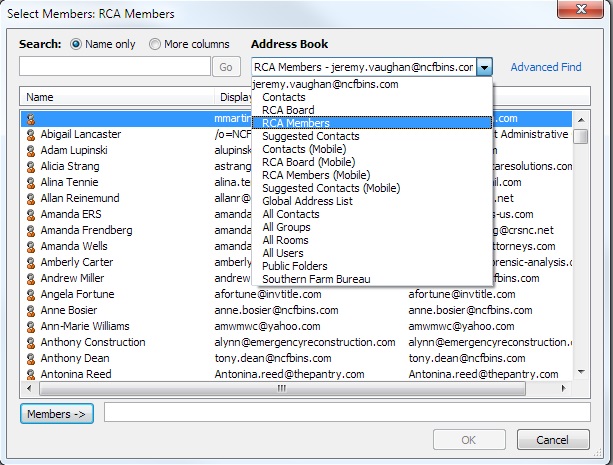
Step 3: Select all of the contacts in that address book. You will click the first name in the list, then scroll all the way to the bottom of the list. Hold the Shift key down while you click the last name on the list. Once that is done, click “Members ->” at the bottom and it will put all of the contacts into the bottom box.
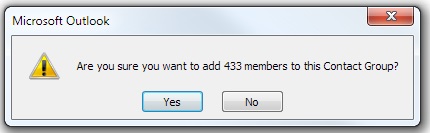
Step 4: Click “OK” and it will ask to confirm your giant list.
Step 5: Once they are added, simply name your group whatever you like and click Save & Close.
Fin.